
Workshop No. 3
 Gluing and cutting the scale dials
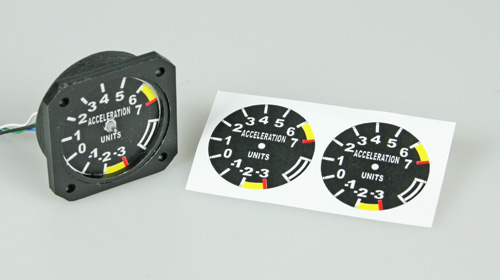
To design realistic dials we are working with CAD and image editon programs and a resolution of 1200 dpi. Scale-Avionics dials are specially adjusted for our cases and installation kits. You can order 4c color prints in HD quality in your scale. This page shows their use.
 1. Carrier material
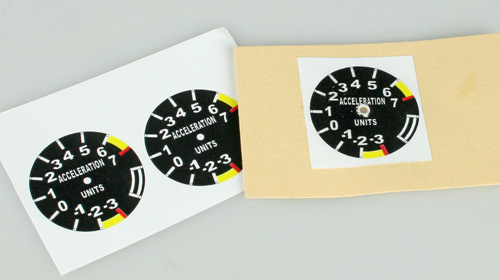
At first cut out the dials and glue them with super glue or wood glue on a carrier material. Suitable are solid 300 g cardboard or even 0.4 mm plywood. After drying insert a bore with 2.5 mm for the axis.
 2. Preparing the chassis
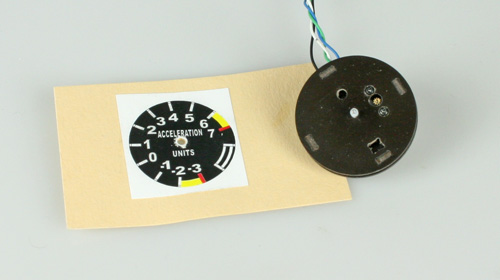
At next prepare the chassis as shown in workshop No. 2. Please assembly the axis and pointer adapter as shown on the image.
 3. Gluing the dial
Glue the dial together with the carrier material on the chassis. The dial centering is driven by the pointer axis. The wooden board with a 3 mm bore is needed at the next step.
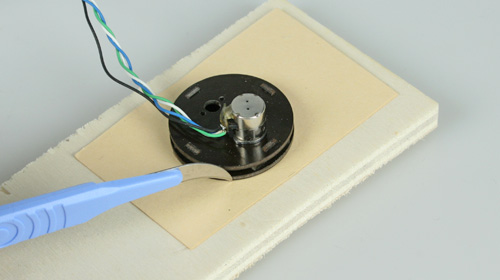
4. Cutting the dial
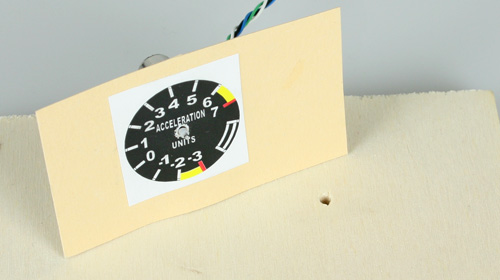
Now lay the chassis upside down on the board and cut the scale with a cutter. The hole in the board saves the axis. The cutter on the image is a scalpel purchasable in pharmacies.
5. Insert chassis and dial
A ready prepared chassis with glued dial can be fitted into a Scale Avionics case or in a DIY panel. A not perfectly cute edge will by covered by the spacer ring. The small edge around the bore will be covered by the pointer.